|
CyberArticle can make a full book or a part of a book
into an EXE e-Book.
In CyberArticle, click "Main Menu->File->Export->EXE e-Book"
successively so as to make the selected nodes into an EXE e-Book.
CyberArticle is able to call e-Book Builder to make an EXE
e-Book as well.
You can also add CyberArticle nodes directly in e-Book Builder.
EXE e-Book properties
In e-Book Builder, click "Properties" button on the tool bar so as to set
the properties of an EXE e-Book.
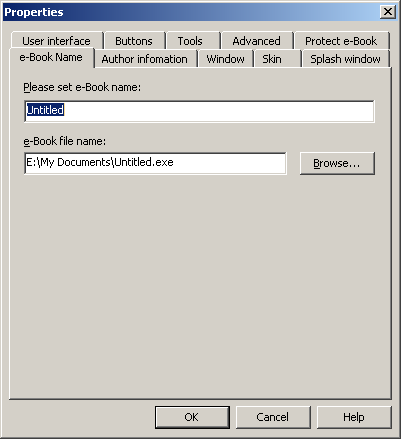
E-Book name
- E-Book name: Name an e-Book. The e-Book name will be shown
in the title bar of the e-Book.
- E-Book file name: The file name of the made e-Book.
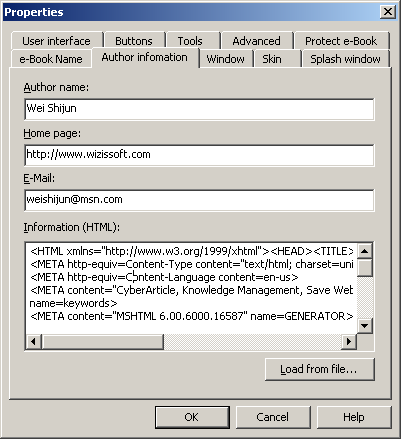
Author Information
- Author name: Type in the e-Book author's name;
- Homepage: Type in the e-Book author's homepage;
- E-mail: Type in the e-Book author's email;
- Information (HTML): Set the information of the e-Book, which will be shown
when users click "About" button on the toolbar of the e-Book. These
information support HTML format. Click "Load from file" and a HTML
file can be opened for the author's information.
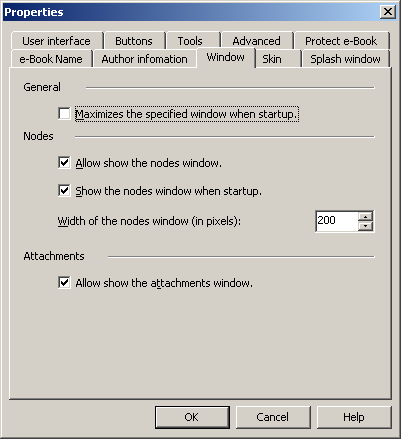
Window
- Maximizes the specified window when startup: Whether maximize
the specified window or not when an e-Book starts up;
- Show the nodes window when startup: Whether show the nodes window or not
when startup;
- Width of the nodes window (in pixels): Set a default width of the
nodes window; The unit is pixel;
- Allow show the attachments window: Set whether to show the article
attachments window or not. If allow, attachemnts of an article will be
automatically shown in case that the article includes
attachments.
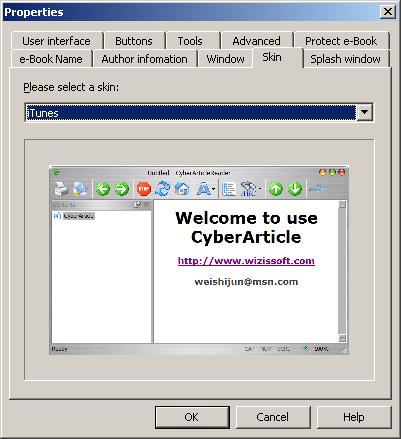
Skin
- Set a skin of the interface. You can select a
skin in the combo box and pre-view the skin
effect.
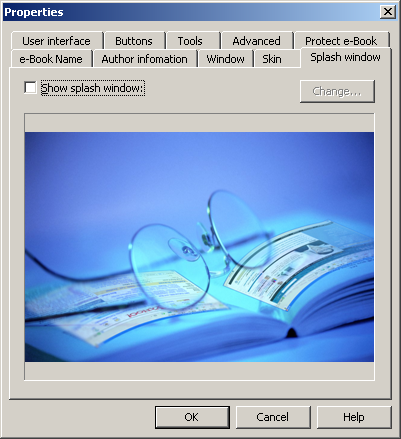
Splash window
- You can set whether to show a splash window when an e-Book starts up.
If show, you can select a bmp image which will be shown on the
splash window.
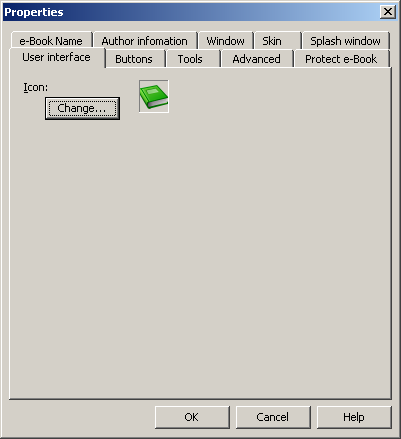
User interface
- Icon: You can set a program icon of an EXE e-Book. The icon
will be shown in front of the e-Book file name in Windows Explorer. At
the same time, the icon will also be shown in EXE e-Book window.
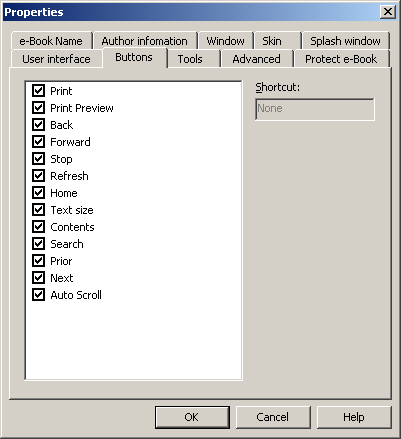
Buttons
- You can set buttons shown on the tool bar of an e-book. Merely
the checked buttons can be shown on the tool bar of the EXE e-book.
Select a button to set or change the shortcut corresponding to the
button.
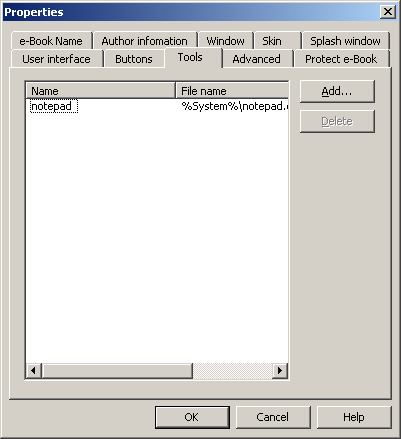
Tools
You can add tools in here. The added tools will be shown on
the tool bar of an EXE e-Book.
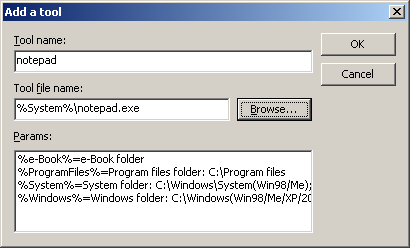
Click "Add" button and a "Add a tool" dialog will be displayed:
- Tool name: Set a tool name;
- Tool file name: Set a tool file name; Click "Browse" to select a file
in disk;
- Params: As the set tools are saved on EXE e-Book user's computer, you need
to use some parameters to specify the specific positions of these tools:
- %e-Book%:The folder in which e-Book programs locate;
- %ProgramFiles%:Program files catalog in Windows OS; Usually is
C:\Program files;
- %System%:Windows system catalog; Usually is C:\Windows\System32 or
C:\Winnt\System32;
- %Windows%:Windows catalog; Usually is C:\Windows or
C:\Winnt.
Click "OK" to add a tool.
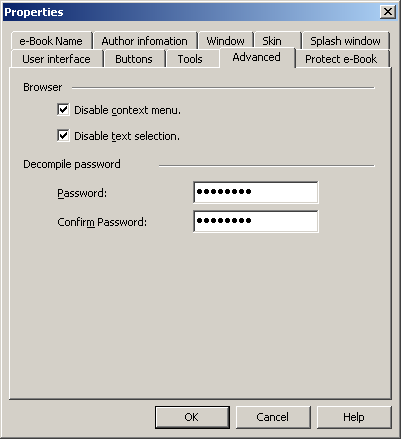
Advanced
- Disable context menu: In an EXE e-Book, forbid the article context
menu.
- Disable text selection: In an EXE e-Book, forbid selecting text in
articles.
- Decompile password: Set a password; When you decompile an EXE e-Book, the
password is required to be typed in.
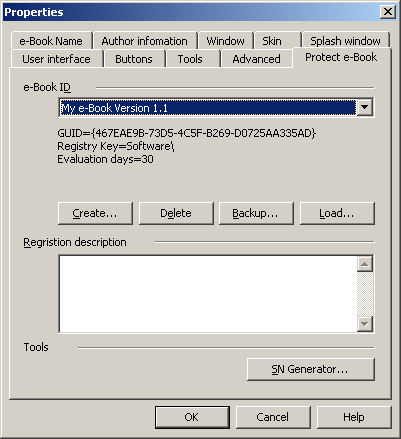
Protect e-Book
e-Book ID
You need to create an e-Book ID in purpose of protecting the e-Book.
This ID represents the type of the e-Book. EXE e-Books made by the same
e-Book ID will be protected by using the identical protection
method.
Click "Create" button to create an e-Book ID.
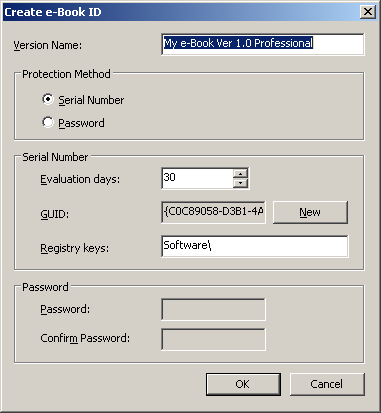
- Version Name: Set a name of an e-Book ID.
- Protection Method: Serial number or password can be used to protect an
e-Book.
- Serial Number: User need to type in the serial Number in order to use
the e-Book continually. Otherwise, you can set a period of time for
evaluation. Beyond the evaluation days, the e-Book can not be opened.
- Password: Protect an e-Book through a password. User need to type
the password in when opening the e-Book. Otherwise, e-Book could not
be opened. There is no evaluation days.
- Evaluation days: Set a evaluation period (Unit is day). In the
evaluation period, user need not to type a serial Number in. Beyond the
evaluation period, no other than typing in a serial number, the
e-Book can be used. As long as user types in the correct serial
number, the serial number is not required to be entered any more in the
future.
- E-Book ID:Set a GUID string in use for representing the e-Book.
The GUID is a string automatically made by system, which is never duplicate.
- Registry Keys: The serial number entered by user will be saved in
registry. Keys need to be set in the registry list in use for
storing the serial number user typed in.
- Password: You can set a password for an e-Book. As long as user
opens the e-Book, the password is required to be entered.
After the above settings are complete, click "OK" button so as to save the
created e-Book ID.
Registry information
You can set a registry information, which will be shown in a dialog
for prompting user to register (in case that you select protecting
an e-Book by using a serial number).
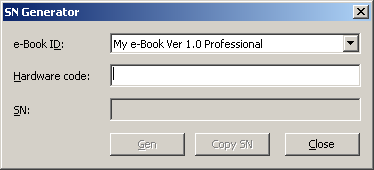
SN Generator
You can generate serial numbers through SN generator:
- e-Book ID: Select an e-Book that is used to generate a SN;
- Hardware code: Type in the hardware code returned by EXE e-Book
user; The hardware code is a hardware identification code of user's
computer; This code will shown in a dialog for prompting user to
register;
- SN: Show the generated SN for user.
Click "Gen" button to generate SNs for users. You can send the
SNs to EXE e-Book users. The users type in the SNs so as to complete the
registry of the EXE e-Book.
Notice
- Please protect your EXE e-Book ID well. This ID stores your e-Book
registry information. If this ID were lost, the corresponding SN
could not be generated for user. The EXE e-Book ID is saved in a
file located in exebookid.xml file in CyberArticle Settings Path.
Therefore, in case that you want to re-install OS or change your computer, we
suggest you backuping this file at first.
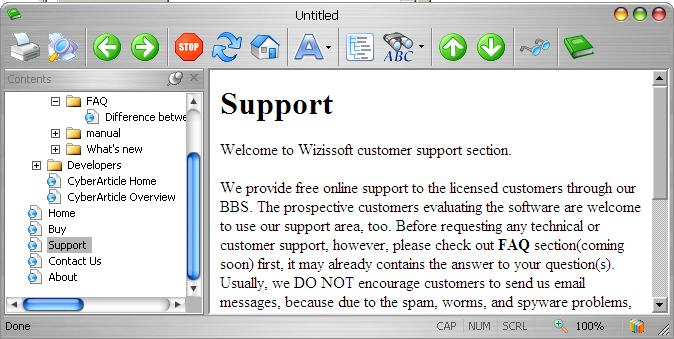
EXEe-Book pre-view
|