

CyberArticle Quick Start - Create and Sell your e-BooksWith CyberArticle, you can make and sell your e-Books much simply and
conviniently.
1. Download and install CyberArticleEven if you are not yet unregistered, you can make EXE
e-Books with CyberArticle. View CyberArticle Quick
Start
 2. Create a new bookLaunch CyberArticle and click "Main Menu->File->New-> Access
Book" successively. In the pop-up dialog, set a file name, in which all
the original data of the EXE e-Book made by you will be saved.
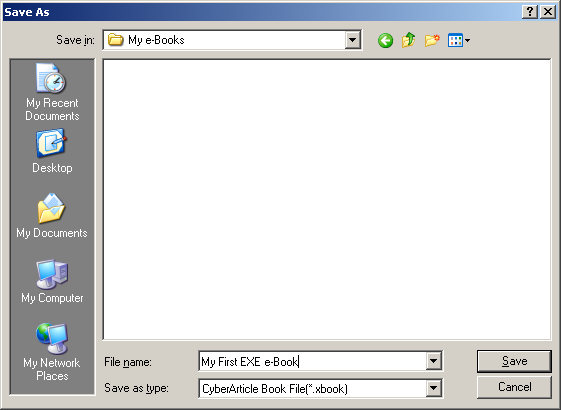 CyberArticle will create and open the book.
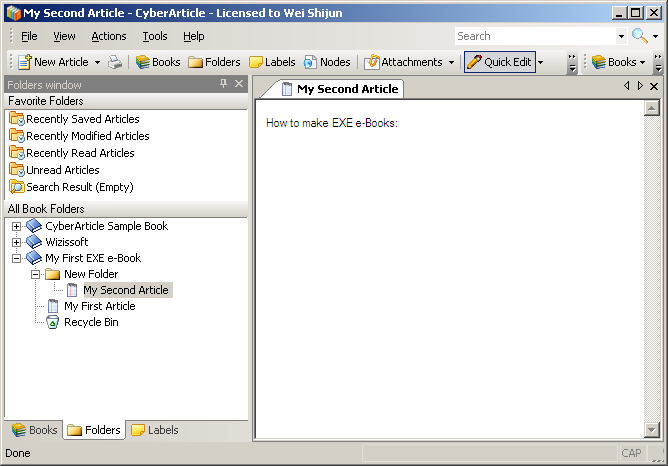
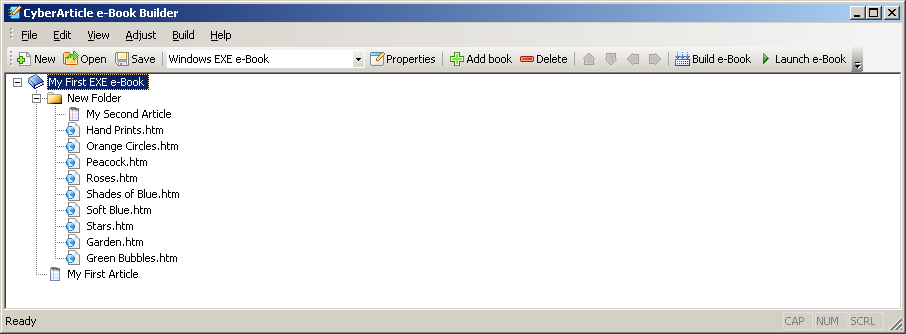
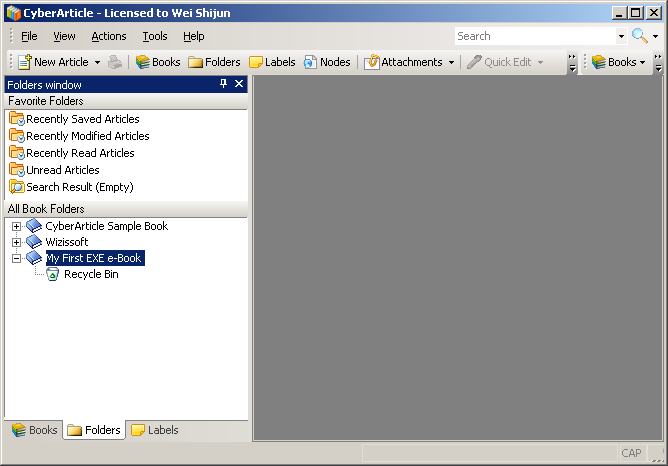 3. Prepare the data of an e-BookYou can create and edit a new article directly in CyberArticle.
Right click on the "My First EXE e-Book" node and select "New Folder"
so as to create a new folder.
Right click on the "My First EXE e-Book" node and select "New Article" so
as to create and edit a new article.
 You can also save the current web page directly in the web explorer (Internet Explorer, Firefox, Opera,
Google Chrome, Apple Safari ).
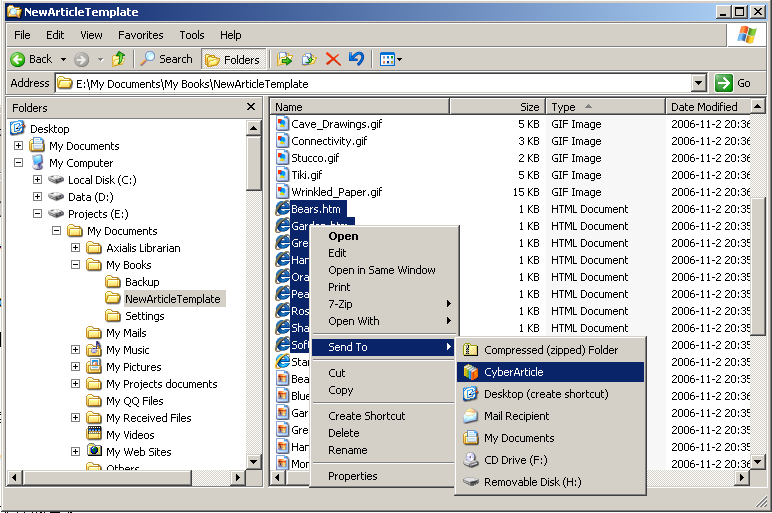
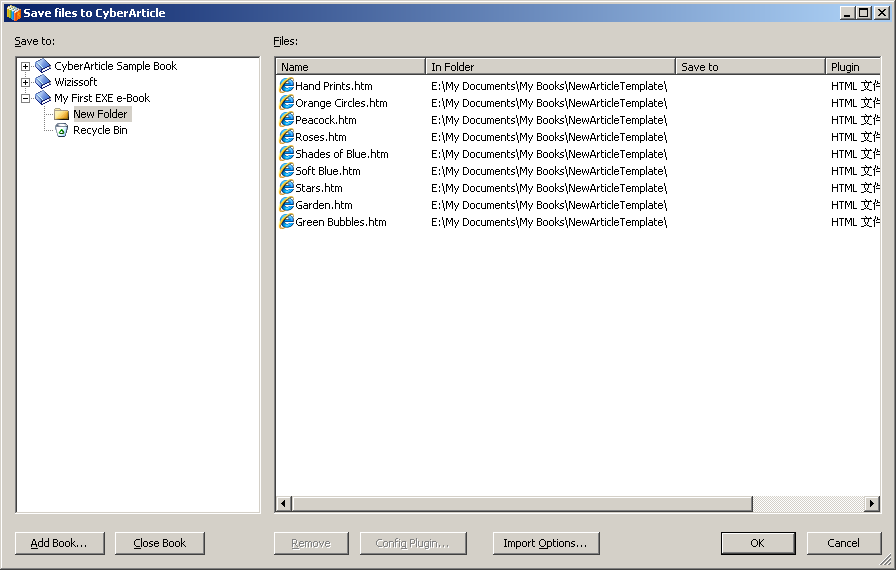
 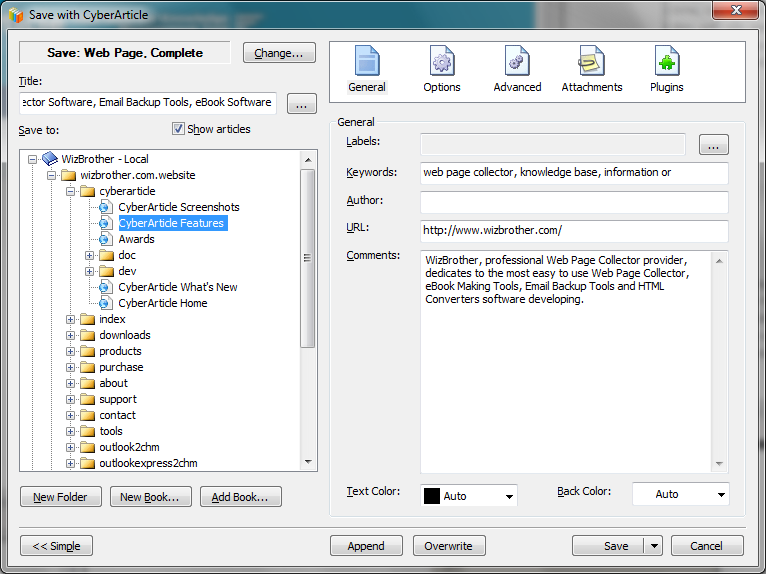 Or, Import HTML files: In Windows Explorer, find and select the HTML
files you want to import, right click on them, select
"Send To->CyberArticle" and then the HTML files will be imported into a
CyberArticle book.
  4. Make an EXE e-BookRight click on the "My First EXE e-Book" node and then select
"Export->Export as EXE e-Book". CyberArticle will call CyberArticle
e-Book Builder to make an EXE e-Book.
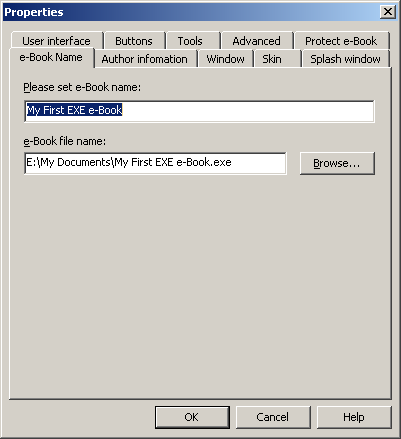
 Click the "Properties" button on the tool bar and then a dialog for the
properties of the EXE e-Book will be displayed as the followings:
Set an e-Book name and an e-Book file name to be finally created:
 Set the autor information:
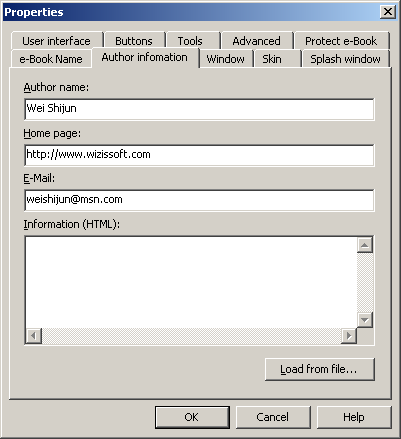 Wherein, you can type in the HTML code in the portion of
"Information". The HTML code will be shown in the "About" dialog of the
e-Book.
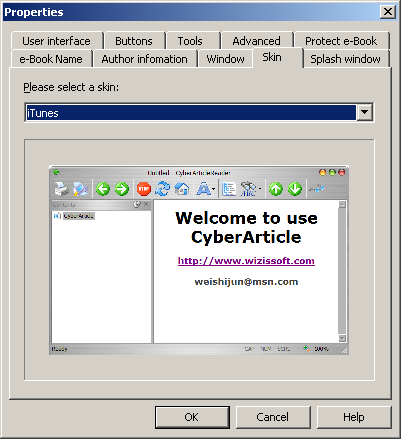
Select a skin for the e-Book:
 Set how to protect the content of the e-Book:
 Set how to protect the e-Book:
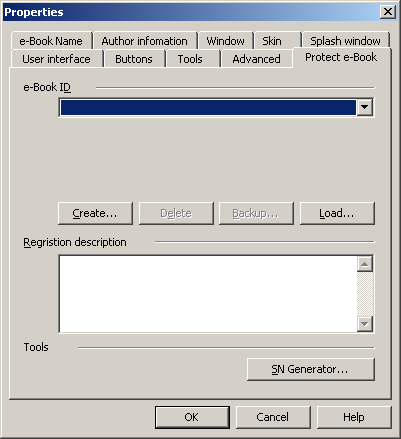 Firstly, you need to create an e-Book ID by the following way:
Click "Create" and then a dialog for creating an e-Book ID will be
displayed:
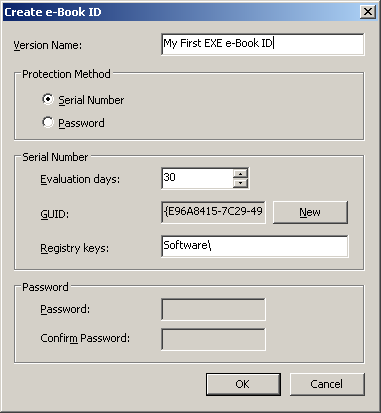 Enter a version name and then set a protection method:
Wherein, for the protection through a serial number, you need to set a
Registry Key. When your e-Book is opened on a user's computer, the e-Book
will record the time at which the user fisrt views the e-Book, in the
registry list. Therefore, you should set a Registry Key that is not easily
found, to save this information, for
instance, SOFTWARE\Microsoft\Internet
Explorer\Main.
After setting the information, click "OK" button.
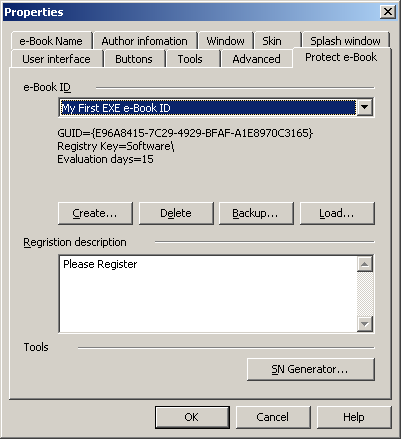 You can click "Backup" button to backup your e-Book ID. Only through
the e-Book ID can be created serial numbers for the users who purchase the
e-Book.
In "Registration Description" can be entered the information that
prompts users to be registered, for example:
If you want to continue to view the e-Book, you have to purchase it.
Otherwise, you can view the e-Book free only for 15 days.
After setting all properties of the e-Book, click "OK" button.
Then click "Build e-Book" button on the tool bar of e-Book Builder, so as
to execute the make-up of an e-Book.
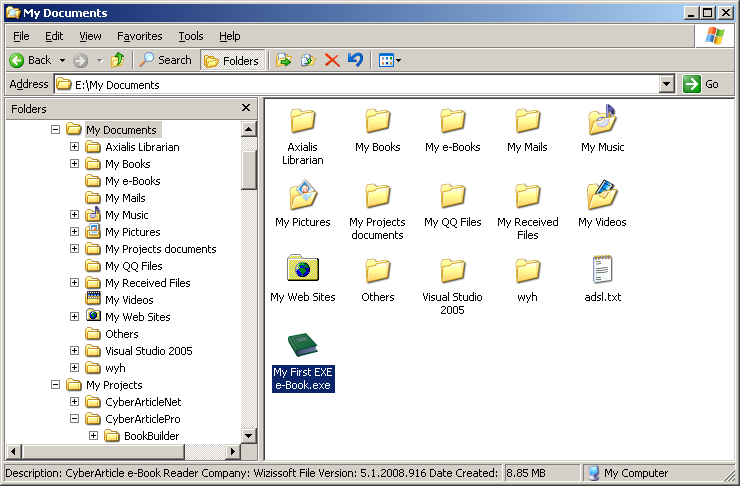
An EXE e-Book will be bulit in a catalog set by you in which the
e-Book is saved:
 Double click the e-Book and then a dialog for registration will be
displayed:
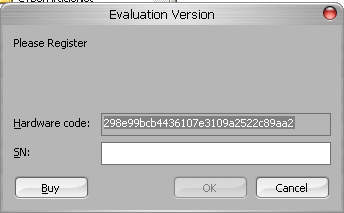 If a user wants to purchase, he/she need to send the content in
"Hardware code" to you.
If in a trial period, a user may click "Cancel" button to view
the e-Book continuously. If the trial peiod is over, after
clicking "Cancel", the e-Book will be closed automatically.
A user can click "Buy" to open the Website set by you in the atuthor
information.
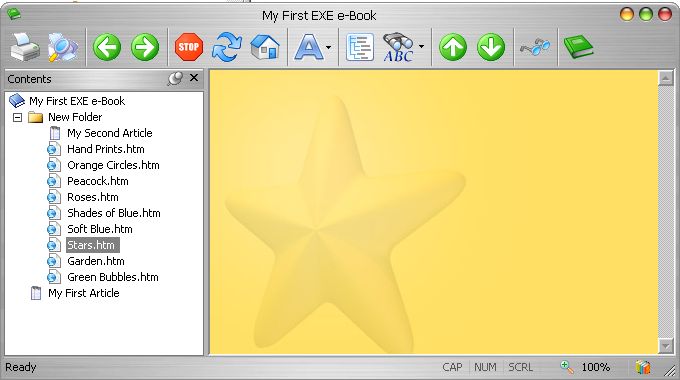
Following is an e-Book made-up.
 Now you can send your EXE e-Books to your users or distribute
to Internet.
5. Create serial numbers for users who purchase e-BooksE-book users are requied to be registered when opening e-Books. In
the dialog, there will be a Hardware Code:
This is a character string created according to the CPU of user's
computer. Users need to send the character string to you.
Therefore, you can prevent a user using your e-Book on mutiple
computers.
In EXE e-Book properties dialog, find "Protect e-Book Tab".
Click "SN Generator" button:
In the pop-up dialog, select your e-Book ID and then enter the Hardware
Code sent by the e-Book user.
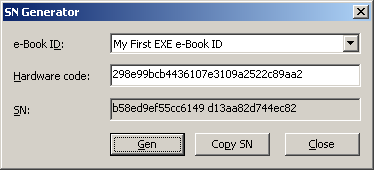 Click "Gen " button and then a registration number will be
created.
Click "Copy SN" button and send the created registration number to the user
who purchases the e-Book.
The user who purchases the e-Book launch the e-Book and type in the
registration number sent by you in the pop-up registration
dialog:
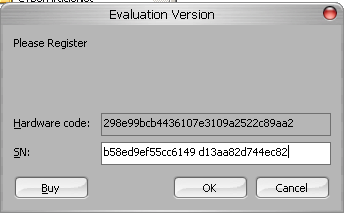 Click "OK" button so as to complete the registration. In the future,
when the user, who purchases your e-Book, views the e-Book again, the
e-Book will be opened directly.
|
|
|
|


